Linux Client Setup for Network Access
This optional section is designed for Linux users who want a more integrated experience when accessing Raspberry Pi resources. You’ll install tools like Gigolo and the Twingate client.
These tools allow your Raspberry Pi’s storage and services to
appear and behave like local resources on your Linux system.
👇👇👇👇👇
PHASE_6_START
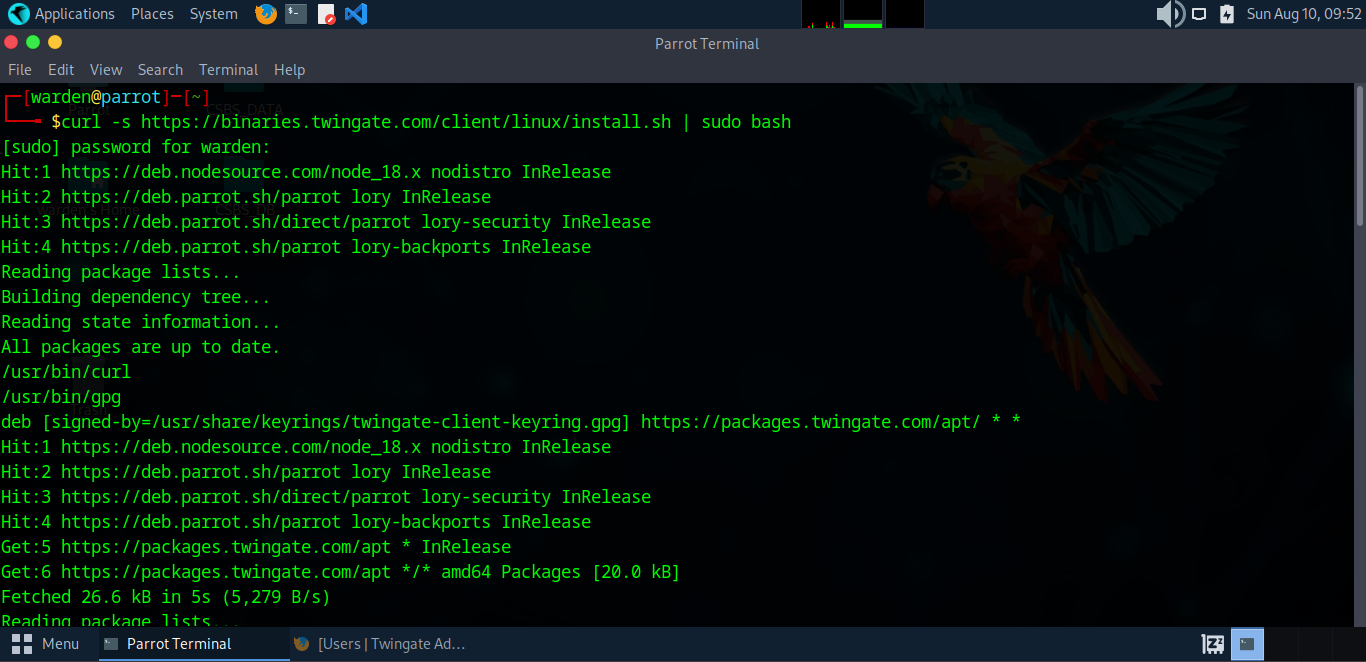
Step 6.1: Install the Twingate client on Linux using the
official installation script.
🔹 This command securely downloads and installs the latest
Twingate client.
curl -s https://binaries.twingate.com/client/linux/install.sh | sudo bash
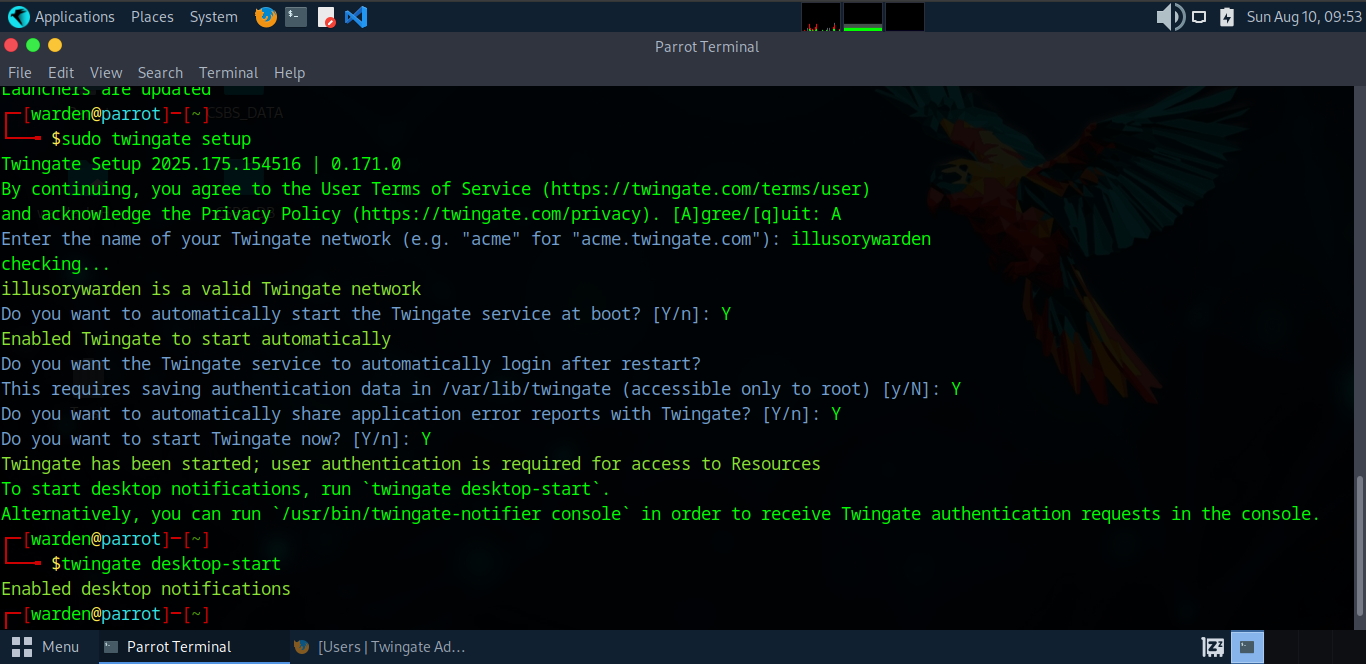
Step 6.2: Configure the Twingate client for your network.
sudo twingate setup
Step 6.3: Enable Twingate desktop notifications.
twingate desktop-start
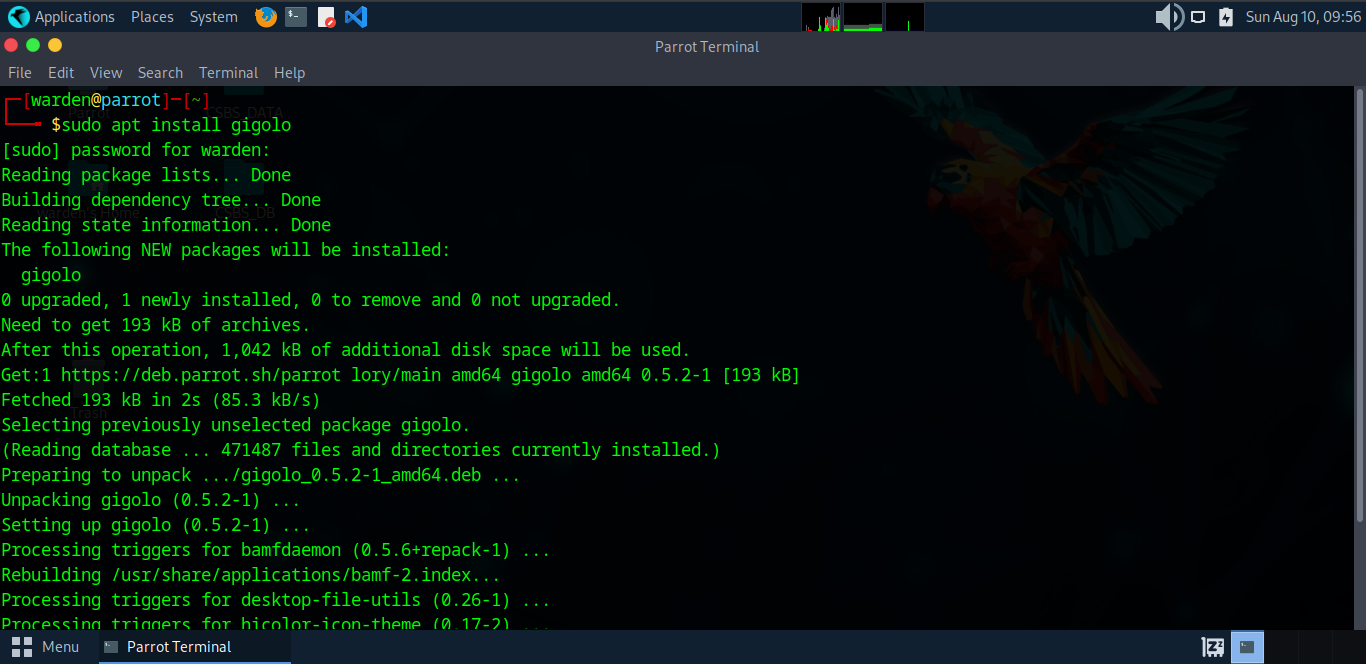
Step 6.4: Install Gigolo file manager on Linux.
sudo apt install gigolo
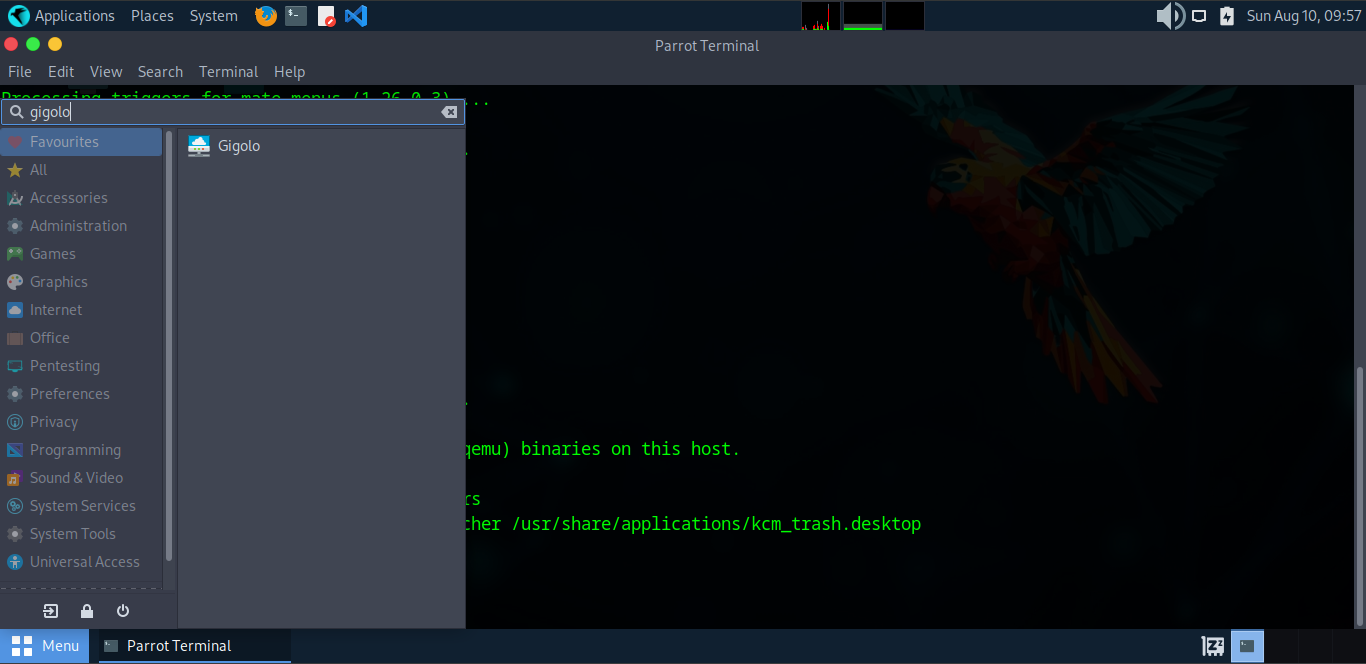
Step 6.5: Launch Gigolo from the Applications menu.
Instruction 5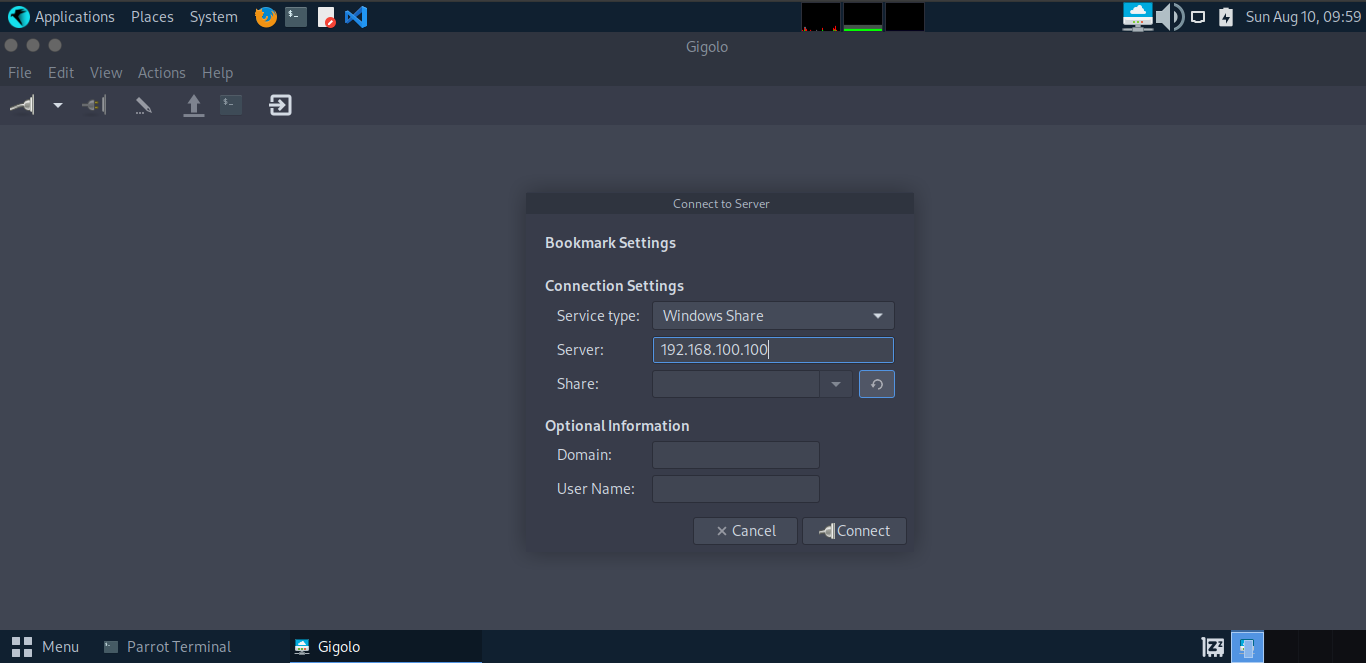
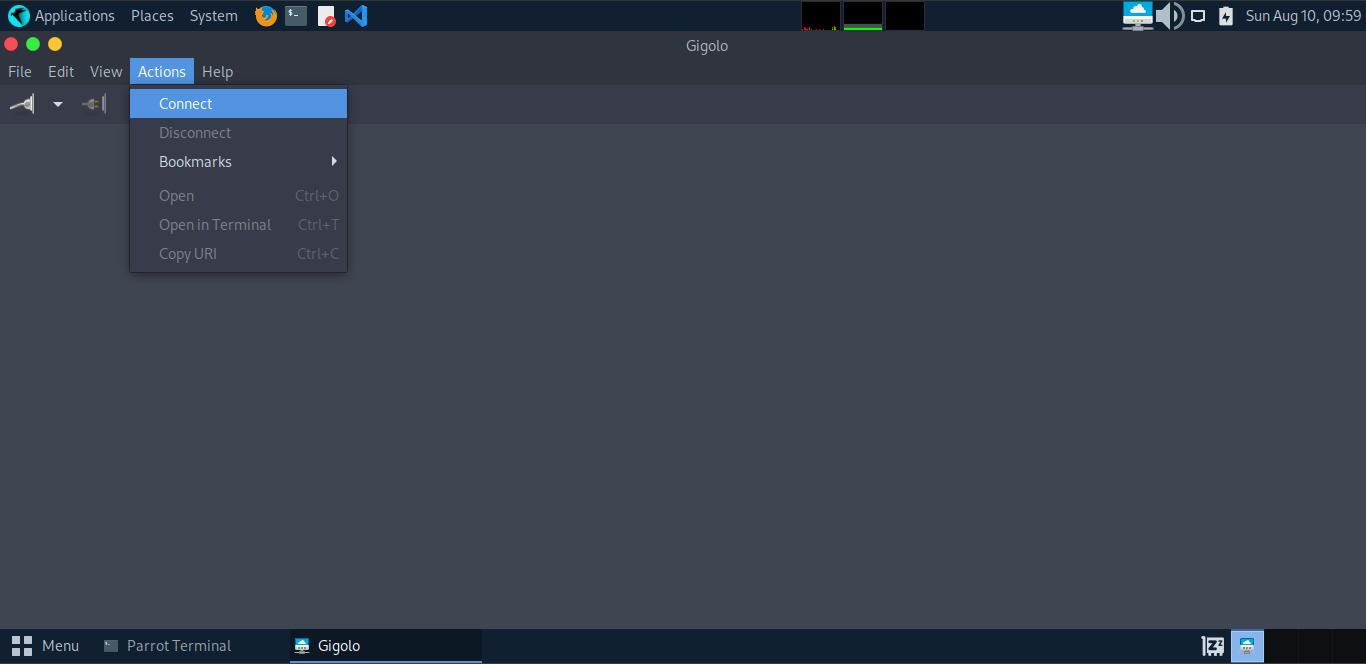
Step 6.6: Click Actions → Connect in Gigolo.
Instruction 6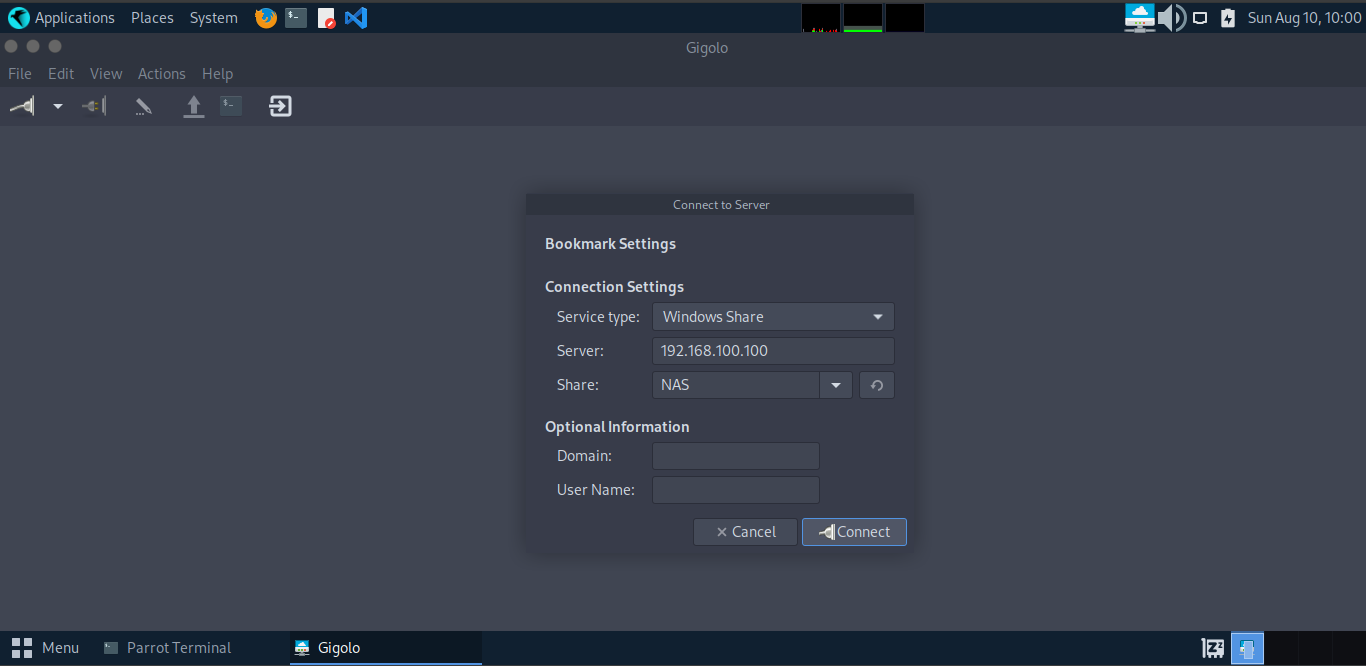
Step 6.7: Enter NAS IP address and select Windows Share (SMB).
Instruction 7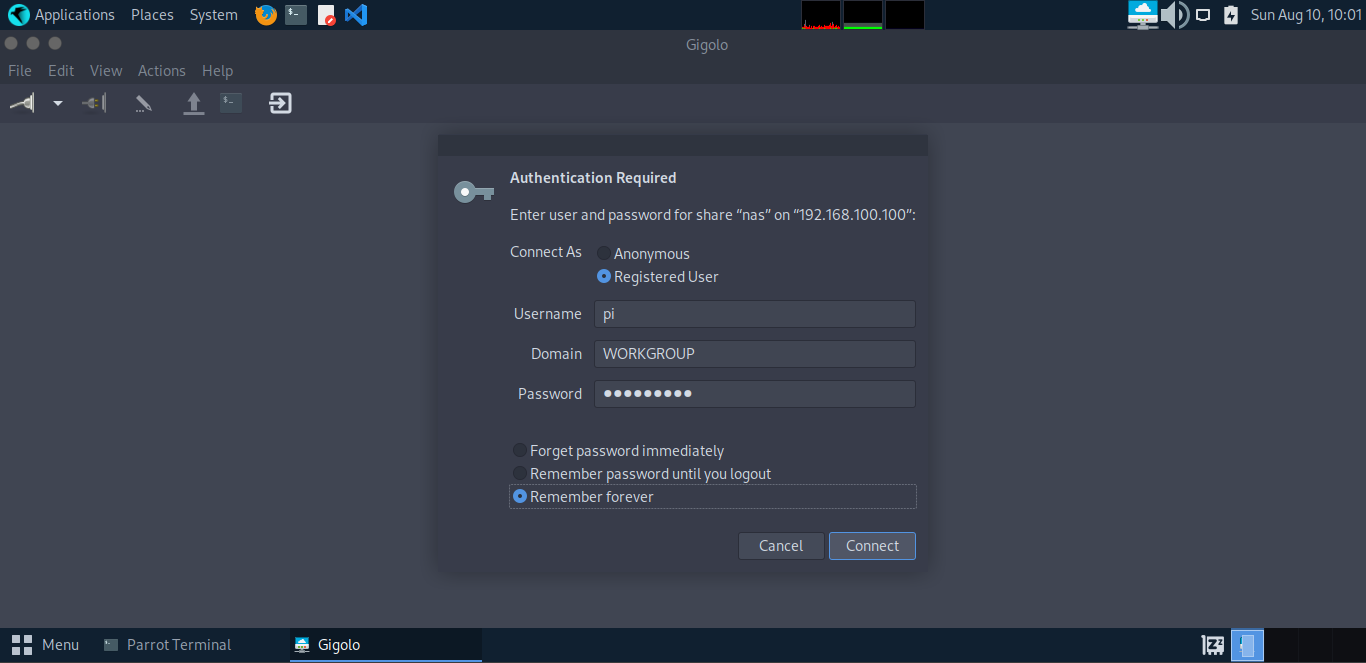
Step 6.8: Select the NAS share name and connect.
Instruction 8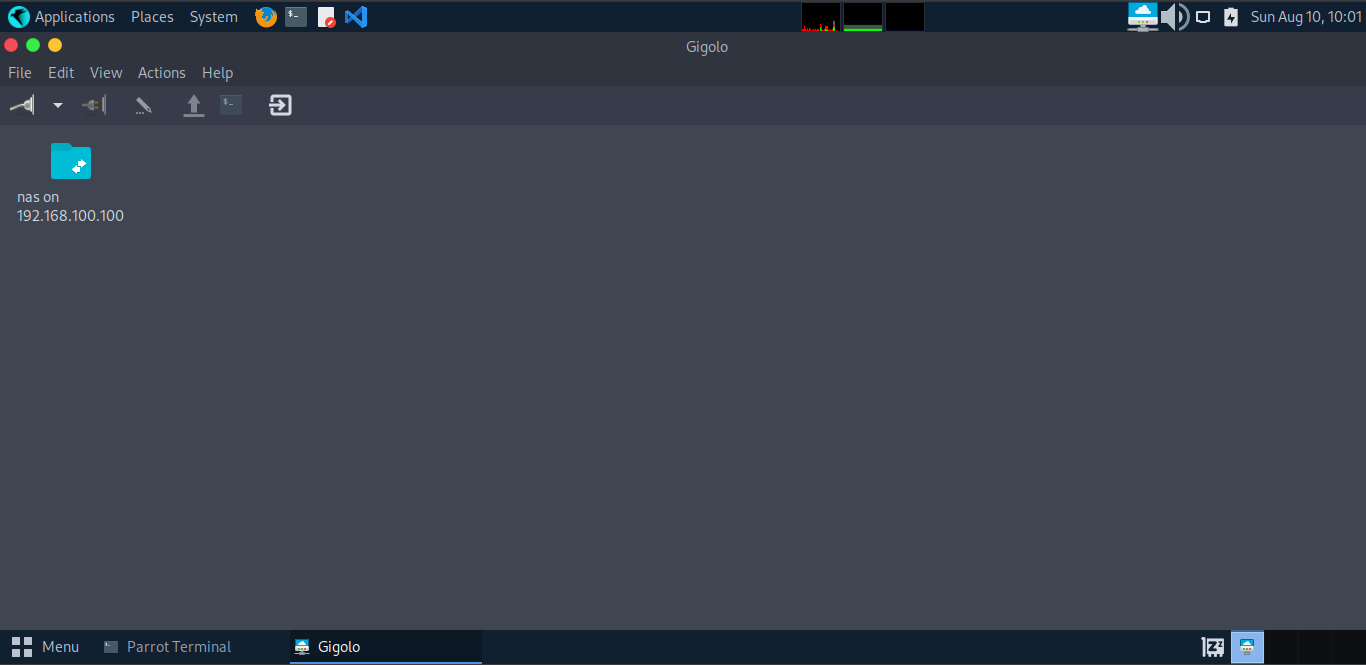
Step 6.9: Authenticate using NAS credentials.
Instruction 9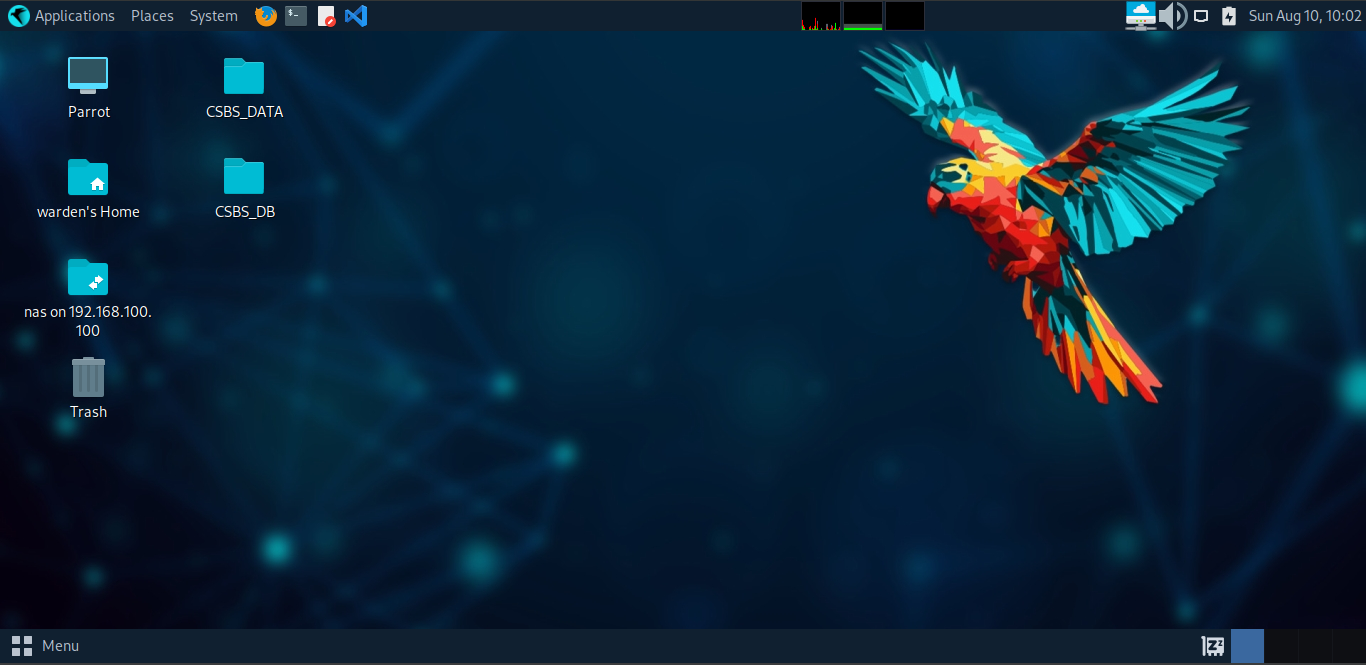
Step 6.10: NAS share mounted successfully.
Instruction 10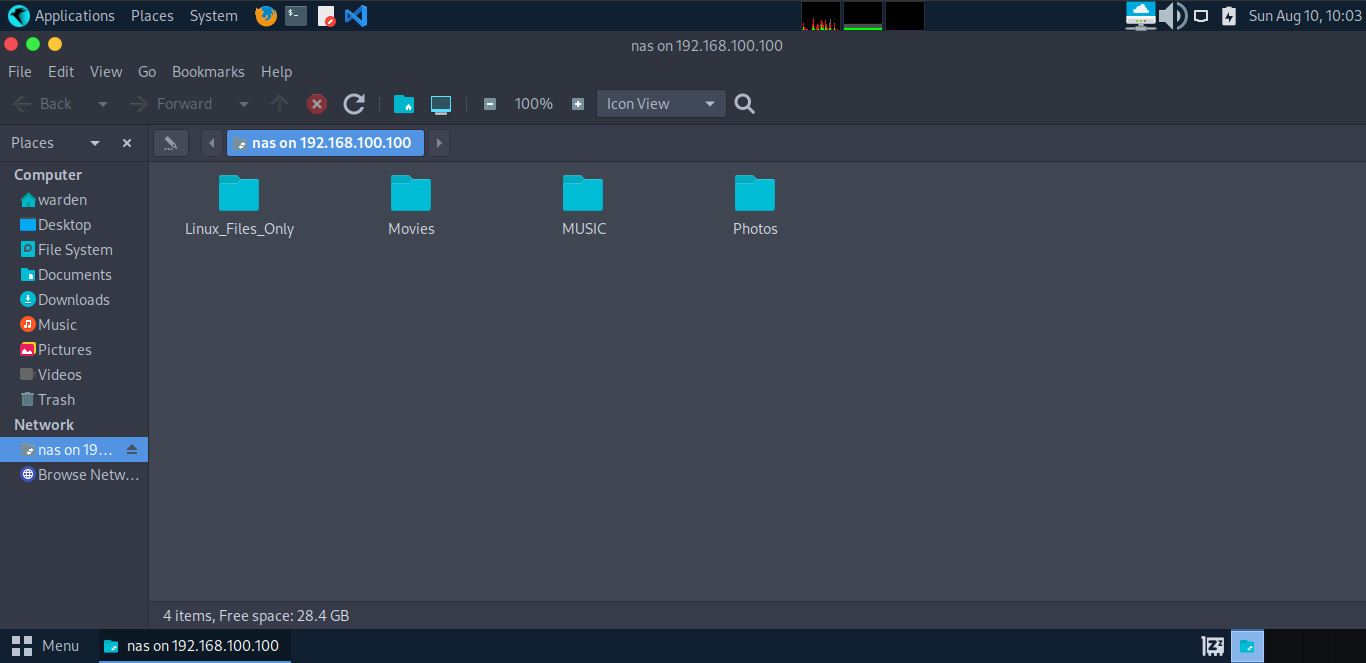
Step 6.11: Browse NAS folders securely over Twingate.
Instruction 11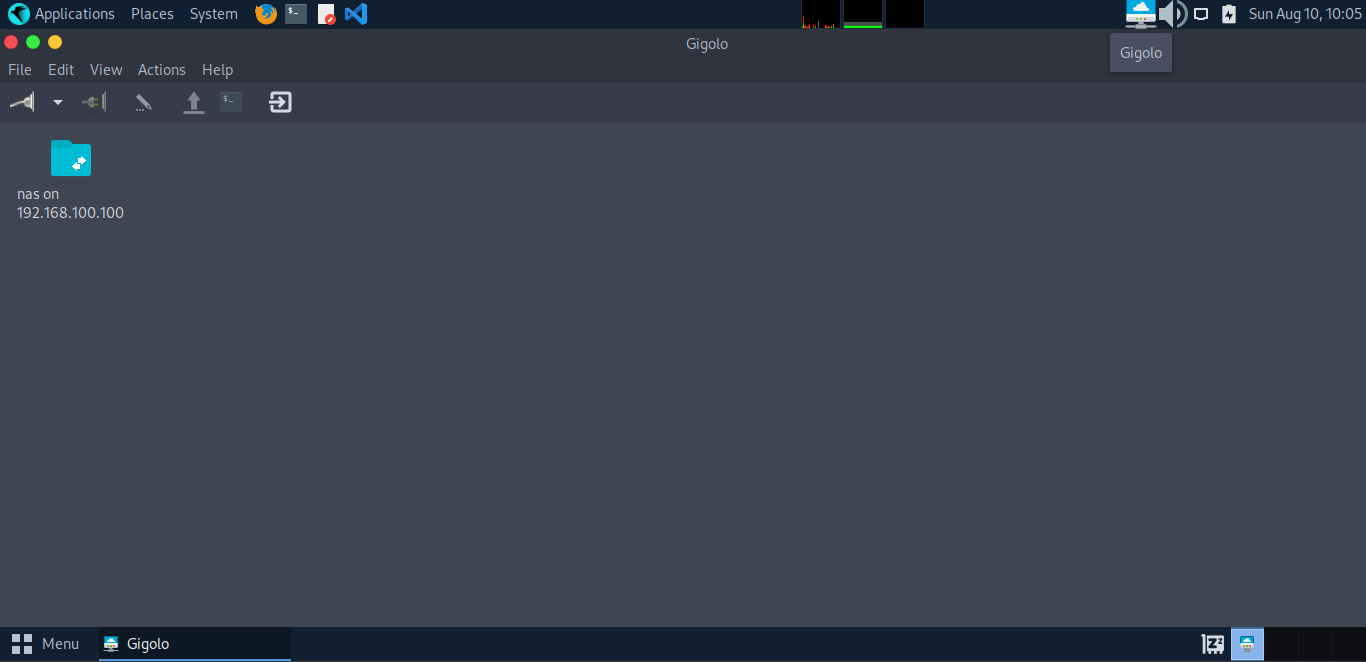
Step 6.12: Phase complete – Secure remote NAS access is now enabled.
Instruction 12PHASE_6_COMPLETE